
Watercolor Charging and Glazing Techniques
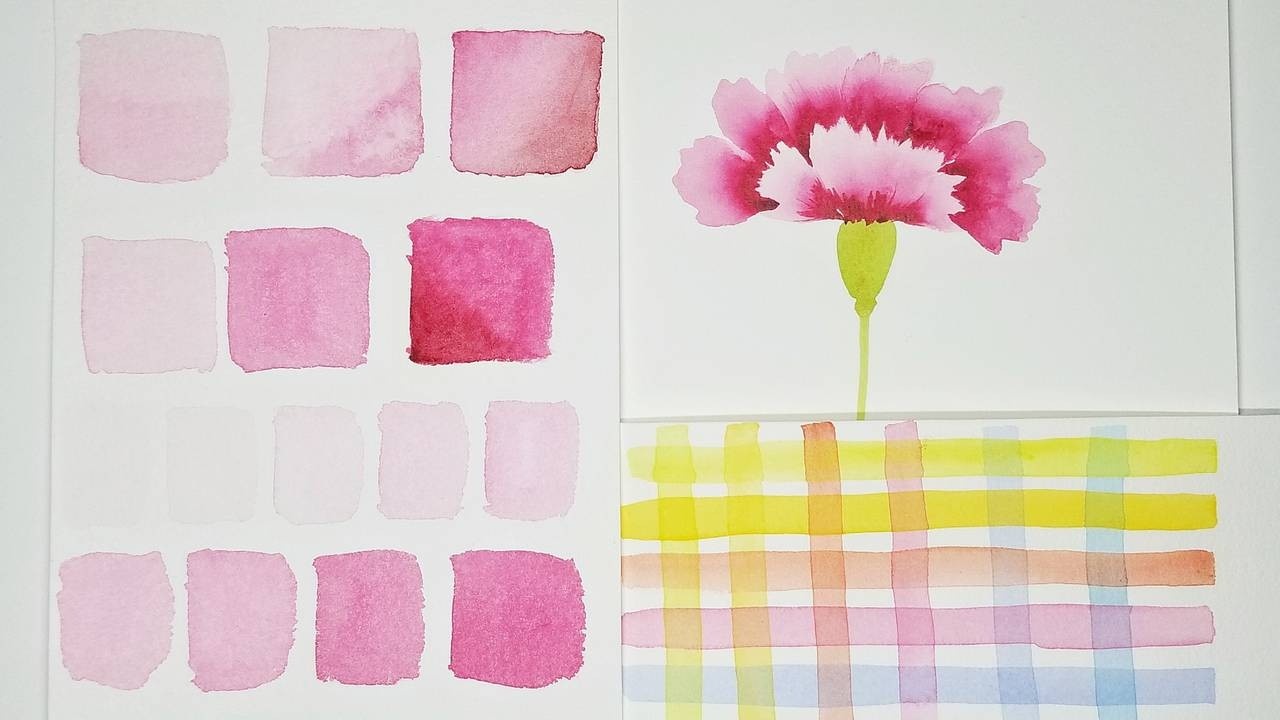
Charging and glazing are two watercolor techniques used for mixing, blending (unifying), diffusing, lightening, adding value, and even making subtle color changes (balancing, adjusting, fixing, etc.)
Have you tried these techniques but ended up with something muddy or dull or opaque? I have a few simple exercises to share that will help you understand the ins and outs of these two techniques and how to apply them to your paintings.
Want to join us for class? It's offered on-demand and available now for all Tier 2 students. Some classes are also available to Tier 1 students. Click here to see the Tier 1 Class Listing.
How to Access Your Members-Only Class:
- Go to www.kallicampacademy.com
- Log in to your account
- Click on Classroom
- Click on Tier 2 -- Class Archive
- Click on Watercolor and Painting
Supplies:
Round paintbrush (anything that is not thirsty - avoid Neptunes)
Flat / One stroke brush (1/2" - 1")
Transparent watercolors (Any paint that does not cover a black sharpie line will work. If the black line shows more or less, then it is semi-transparent. If the black line is not covered at all, then the paint is transparent. I will have a tutorial on Instagram to show how to discover which of your paints are transparent. )
Palette if you are using tubes of paint or a palette of half/full pans of paint
2 or 3 cups of water (one to rinse cool colors and one to rinse warm colors and one is kept clean)
Paper towels
Let's get started!
Homework Challenge:
Want to see our students homework? Search the hashtag #kcachargingandglazing on Instagram to see samples from this week's homework. Our students who participate in this challenge get entered into a drawing to win prizes.
Instructor: Jane Matsumoto

Instagram: @ginkgoarts
Download our Master Supply List FREE when you become a Friend of the Academy.

Categories
All Categories