
LIVE: Intro to Wildwood Script: A Whimsical Take on Italian Hand

Homework Hashtag: #kcawildwoodscript
We loved seeing our students who attended the live class! For those who missed it, enjoy the recording of this lesson. Are you interested in taking a full course on this script? Please send us an email and let us know!
Intro:
Italian-hand is such an imaginative script! It's unique look gives it an imaginative feel, and it is as fun to write as it looks. In this class, we will discuss what makes Italian hand unique, a brief history, as well as some beginner marks to get started. We'll also discuss letting go of perfectionism and a few tips to creating your own style.
Want to join us for class? It's offered on-demand and available now for all Tier 2 students. Some classes are also available to Tier 1 students. Click here to see the Tier 1 Class Listing.
How to Access Your Members-Only Class:
- Go to www.kallicampacademy.com
- Log in to your account
- Click on Classroom
- Click on Tier 2 Classes - Class Archive
- Click on Different Calligraphy Scr...
Watercolor Maps

Homework Hashtag: #kcawatercolormaps
Welcome to the watercolor maps class! This is a class about making a decorative map with watercolors. You'll learn how to take a digital map and, using procreate to trace, put it on paper and paint it. We will also cover some painting techniques to add detail to the colors and areas of the map.
Want to join us for class? It's offered on-demand and available now for all Tier 2 students. Some classes are also available to Tier 1 students. Click here to see the Tier 1 Class Listing.
How to Access Your Members-Only Class:
- Go to www.kallicampacademy.com
- Log in to your account
- Click on Classroom
- Click on Tier 2 -- Class Archive
- Click on Watercolor and Painting
- Click on Watercolor Maps
Materials Needed:
- Digital map
- Procreate
- Your choice of watercolor paper, paints, and thin brushes
- Any materials you want to use to embellish the final product
Helpful Tips:
Procreate Set up I use:
8.5x11”
*700 dpi
*(the higher ...
Prepare Invitations for Printing
Class Intro
Now that you have designed your wedding invitations, it’s time to get them ready to submit for the printer. Not sure where to start? We’ve got you covered. This class by Allison McClanahan @wildwoodcalligraphyandpost takes you through setting up your artwork for the printer using Adobe Photoshop.
Want to join us for class? It's offered on-demand and available now for all Tier 2 students. Some classes are also available to Tier 1 students. Click here to see the Tier 1 Class Listing.
How to Access Your Members-Only Class:
- Go to www.kallicampacademy.com
- Log in to your account
- Click on Classroom
- Click on Tier 2
- Scroll to Current Classes
Topics Covered
- Create and work within a Photoshop file
- Margins
- Safe Zones
- Changing the color of calligraphy
- Saving the file so it is printer ready
Plus:
- Shortcuts for those who don't do artwork or calligraphy, or both!
Supplies
- Calligraphy invitation design you have already scanned or have created in Pr ...
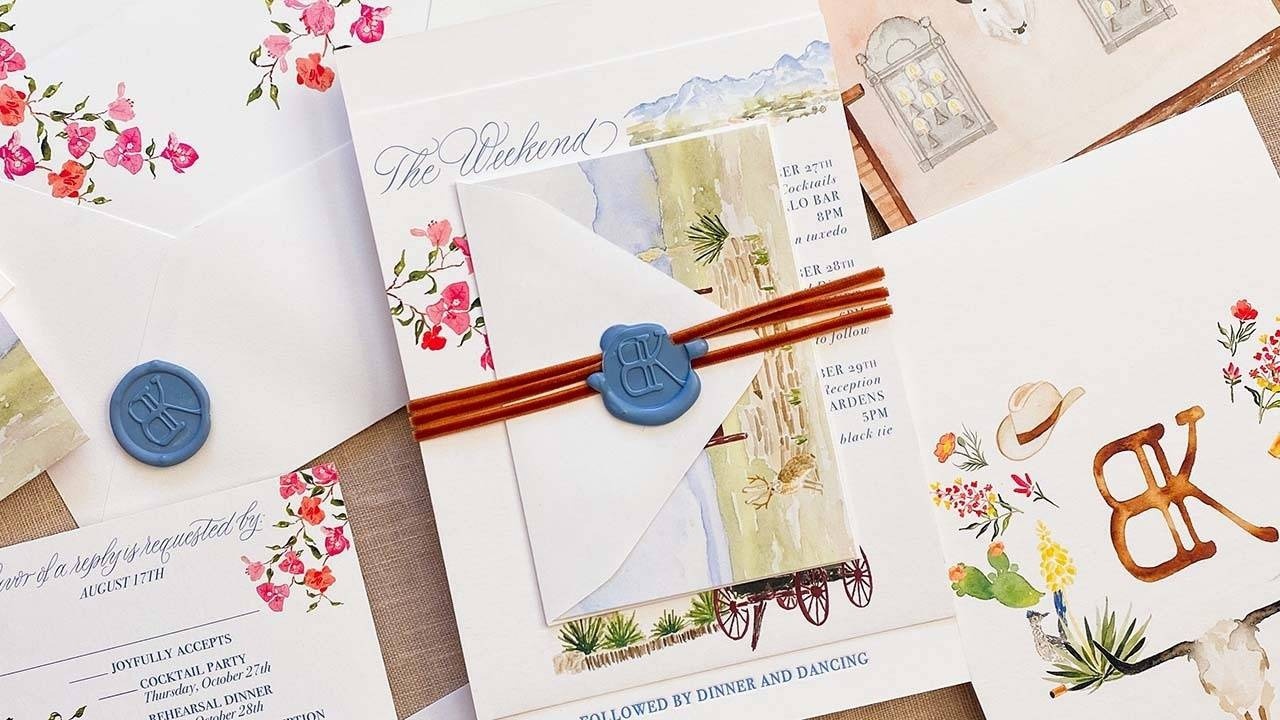
Design a Wedding Invitation Suite
No more turning down wedding invitation jobs because they seem over your head!
We are taking the mystery out of stationery design and giving you all the tools you need for quick and easy design and production. Join us for our 3-part Invitation Suite Design Series taught by Allison McClanahan, a bespoke stationery designer and calligrapher.
Our first class started with designing a watercolor crest, teaching you how to create stationery artwork and digitize it for printing. In Part 2 you will learn all the ins and outs of the wedding invitation suite.
We’re talking paper sizes, paper types and colors, printing methods, wording and etiquette, layouts and artwork ideas, and all the bells and whistles to add. Did someone say ribbons and wax seals? Allison takes you in to her tried-and-true design process and walks you step by step through how to work with wedding clients from start to finish.
You’ll learn about creating look books, what to use for design inspiration, and where ...
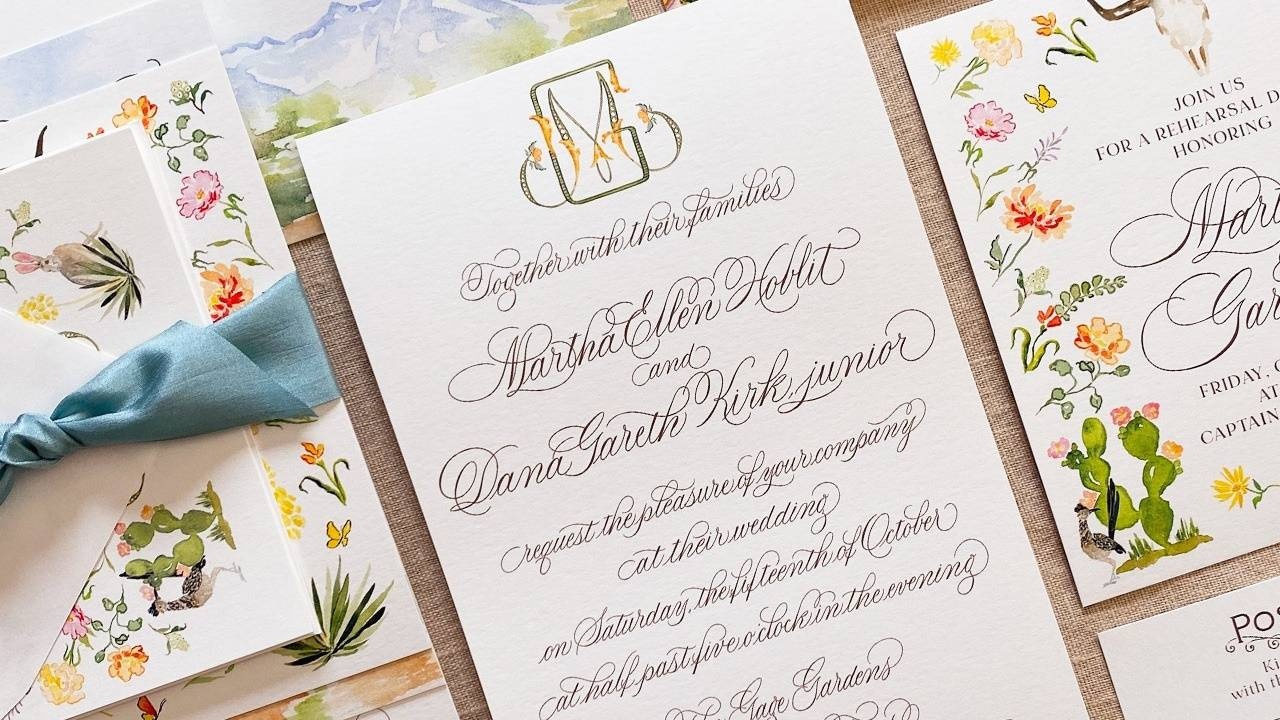
Design a Watercolor Crest

Designing wedding invitations has never been more fun! This class is kicking off a 3-month series on designing a wedding invitation suite. We are starting with learning to design a watercolor crest, and in this class we will be making artwork to use throughout the entire suite. Over the next three months, look forward to learning about the different parts of the wedding invitation suite, how to design them, and what to do to get them from your pen or brush to the printer.
Design a Watercolor Crest is chock-full of new techniques for you to learn, from design and painting techniques to working in Photoshop. You will be inspired to dream and amazed at your new abilities. This class will provide you with grins, whoa’s and “Aha!” moments. The watercolor crest you will create can be used not just for wedding invitations, but for personal stationery, wall-hangings in baby nurseries, and no shortage of creative custom artwork. Take a look at the topics that will be covered.
Topics Covered
...Creating Wax Seals and Tying Ribbons
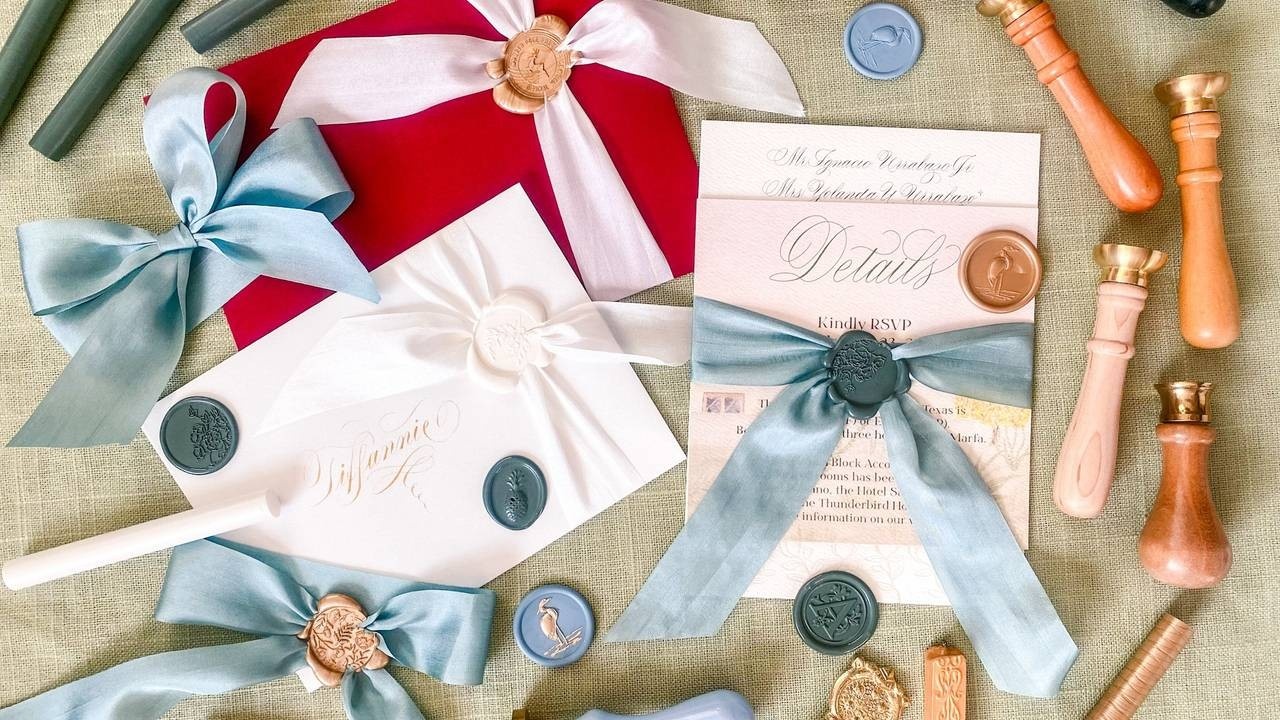
My name is Allison McClanahan, and I am a calligrapher and stationer. For my wedding clients, I work with ribbon and wax seals which makes a piece of mail extra fun to receive. In this class, I’ll show you my favorite methods for creating wax seals and tying ribbons.
Topics covered
- Wax and sealing stamps sourcing
- Ribbon sourcing
- Gold marker brand
- Wax seal formation--various methods and shapes with a focus on the glue gun method
- Ribbon/wax seal combinations
- opposite direction tails
- same direction tails
- Ribbon tying
- knot
- bow
- How to keep your wax seal and ribbon from attaching to the paper
Want to join us for class? It's offered on-demand and available now for all Tier 2 students. Some classes are also available to Tier 1 students. Click here to see the Tier 1 Class Listing.
How to Access Your Members-Only Class:
- Go to www.kallicampacademy.com
- Log in to your account
- Click on Classroom
- Click on Tier 2 -- Class Archive
- Click on Hand/Paper Crafts
How to Style and Photograph Flatlays

In this class, we will talk about how to take a picture that accurately represents what you want to show by using good lighting, editing the picture in lightroom mobile, and styling your piece as well.
Topics Covered
• Good things for flat lay props
• Proper Lighting
• How to arrange props around your piece
• Taking different pictures of the same piece to have more photos for Instagram
• Editing the pictures in Lightroom
Want to join us for class? It's offered on-demand and available now for all Tier 2 students. Some classes are also available to Tier 1 students. Click here to see the Tier 1 Class Listing.
How to Access Your Members-Only Class:
- Go to www.kallicampacademy.com
- Log in to your account
- Click on Classroom
- Click on Tier 2 -- Class Archive
- Click on Digital & Photography
Materials Needed:
Flatlay Props: (of course, these are not all required, just suggestions)
- Wax stamps
- Wax seals (created by pouring wax onto aluminum foil, then peeling off w ...
Addressing Envelopes with Calligraphy
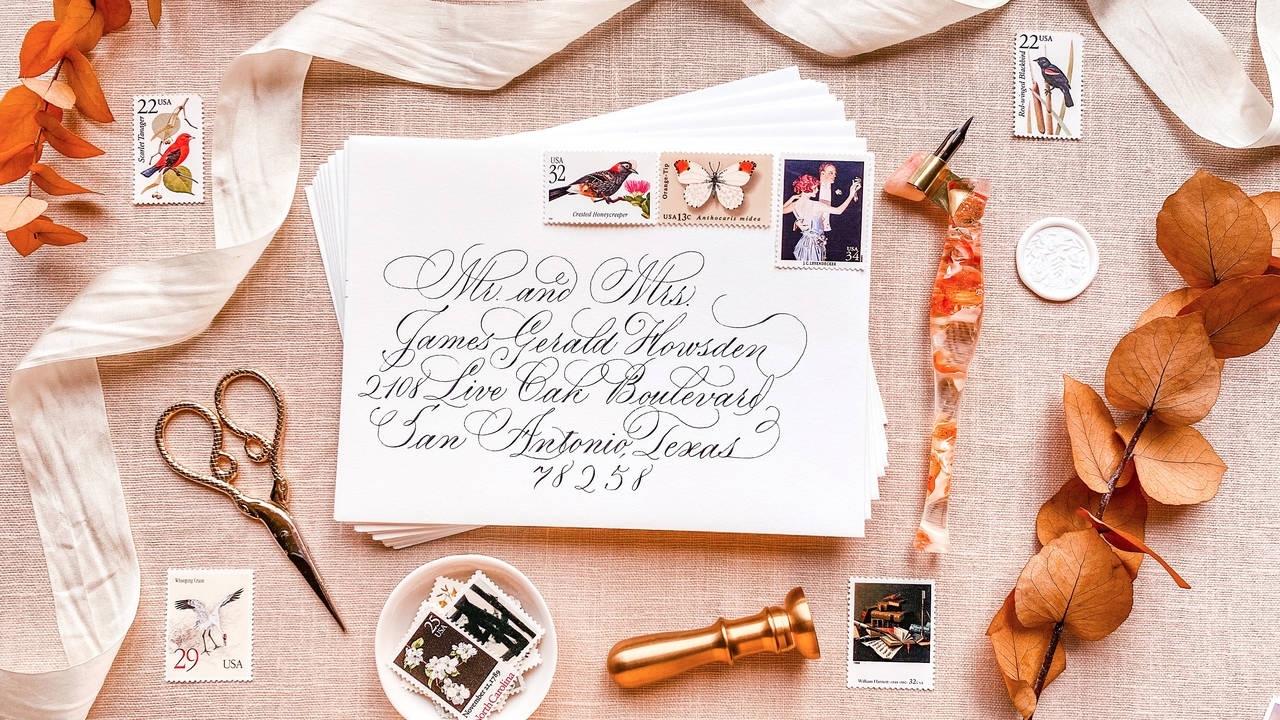
Calligraphy on envelopes! This is what drew me to calligraphy in the first place, and it is still my very favorite thing to do.
Topics Covered:
- Consistency in letter forms
- Using a Lightbox with your favorite guidelines
- Using a Phantom Liner
- Judging your spacing for centering
- Common addressing anxieties
- Flourishing to take up space/balance
- Knowing where to start on your envelope
- Suggestions for talking to clients about postage
- And other resources and tips spread throughout!
Want to join us for class? It's offered on-demand and available now for all Tier 2 students. Some classes are also available to Tier 1 students. Click here to see the Tier 1 Class Listing.
How to Access Your Members-Only Class:
- Go to www.kallicampacademy.com
- Log in to your account
- Click on Classroom
- Click on Tier 2 -- Class Archive
- Click on Snail Mail and Envelopes
Materials Needed:
• Envelopes. I recommend Paper Source and Cards and Pockets for smooth quality envelope...
How to Digitize Calligraphy
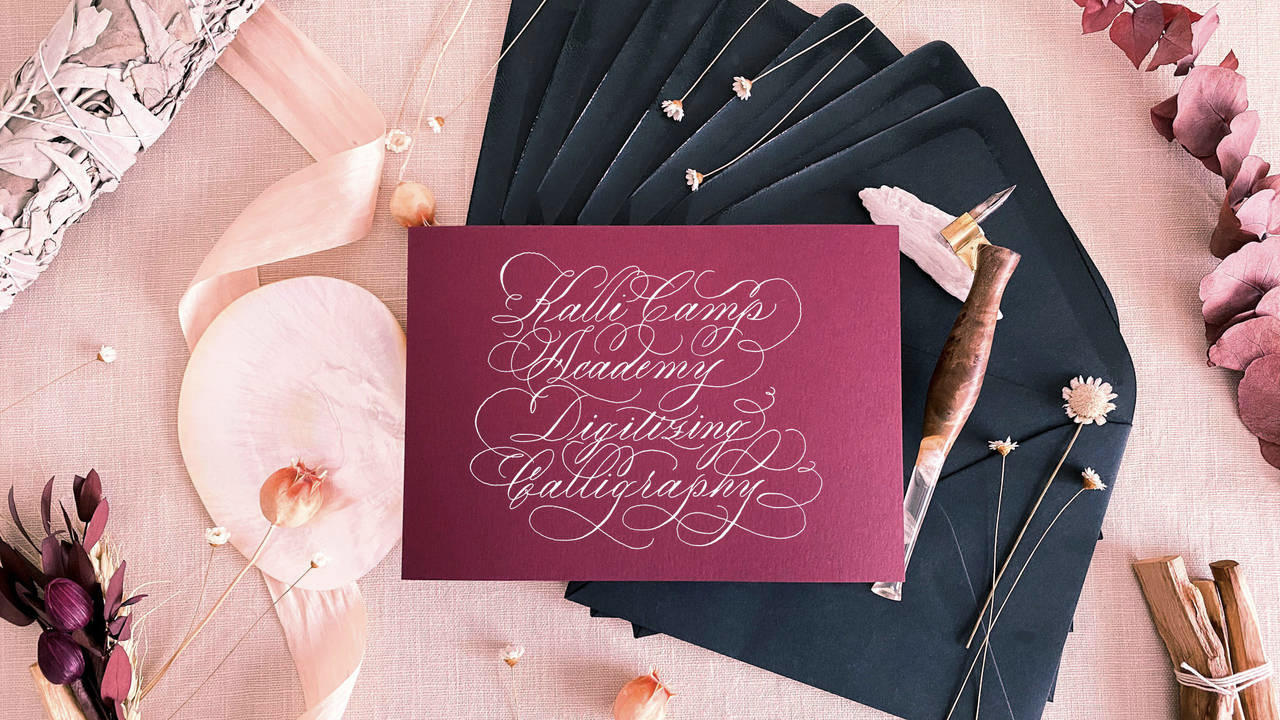
Being able to digitize your calligraphy is a vital skill to have if you want to start making reproductions of your work (like cards or wedding stationery!). Being able to drag your calligraphy, move script around, and even change the color will allow you to take your calligraphy to new places!
Topics Covered
- Scanning your work into the computer and opening it in Photoshop
- How to prep your scanned in file in photoshop
- How to delete the white paper background so that you can create moveable script
- How to separate script so that you can move different words and letters independently.
- How to change the color of script
- How to insert your script into another photo
Want to join us for class? It's offered on-demand and available now for all Tier 2 students. Some classes are also available to Tier 1 students. Click here to see the Tier 1 Class Listing.
How to Access Your Members-Only Class:
- Go to www.kallicampacademy.com
- Log in to your account
- Click on Classroom
- Click on T...
All Things Snail Mail - From Postage to Envelope Liners

Sending old fashioned letters through the mail is a beautiful way to use your calligraphy. It brings joy to the receiver, and is relatively inexpensive! It can be so much fun, but you can't necessarily just stick any stamp on any envelope... different ink requires different postage amounts as does different weights, sizes, and even lumpiness! Then what do you actually put into the letter? It may be easy to write a page (or four!) to your best friend, but what if you want to send mail to someone you don't know well (like in the KCA Snail Mail Database)? I have you covered in this class.
Topics Covered
- Postage- how much it costs to mail a letter and what costs extra
- What to put inside the envelope, especially if you don't know the recipient well
- Some formal etiquette do's and don'ts
- How to make an envelope liner
Want to join us for class? It's offered on-demand and available now for all Tier 2 students. Some classes are also available to Tier 1 students. Click here to see the ...
Download our Master Supply List FREE when you become a Friend of the Academy.

Categories
All Categories