
Creating Wax Seals and Tying Ribbons
Dec 05, 2021
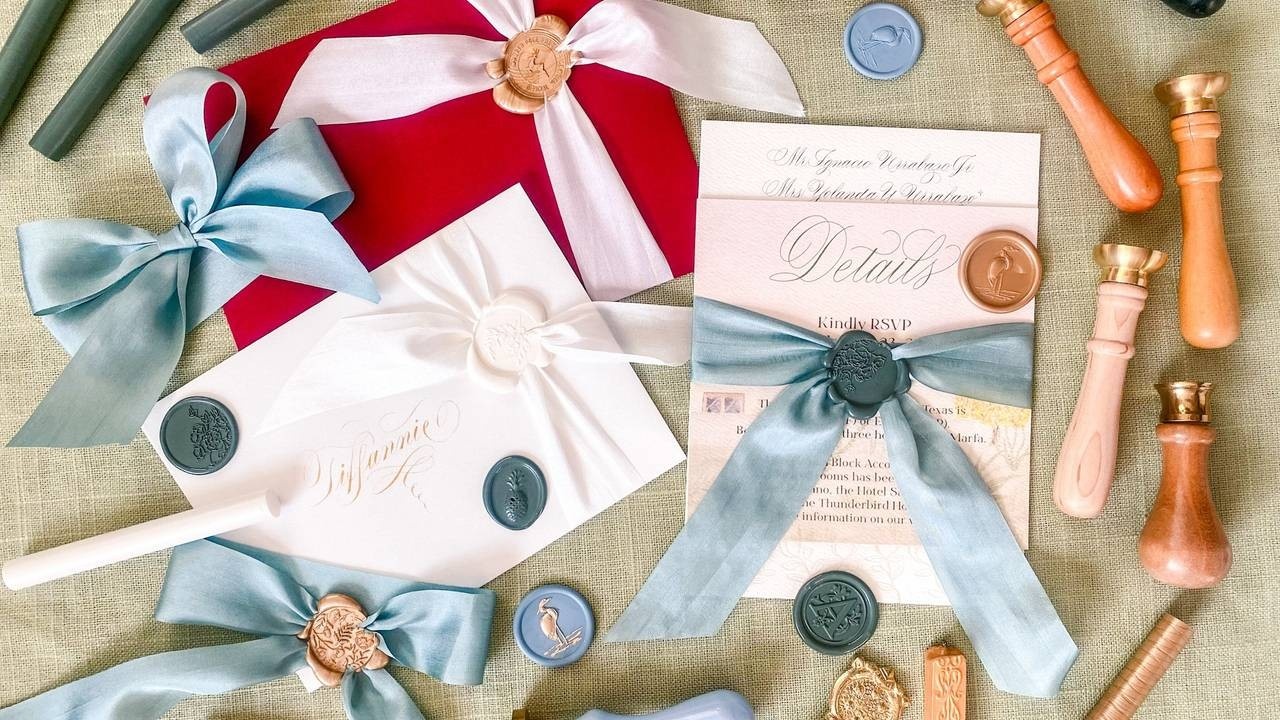
My name is Allison McClanahan, and I am a calligrapher and stationer. For my wedding clients, I work with ribbon and wax seals which makes a piece of mail extra fun to receive. In this class, I’ll show you my favorite methods for creating wax seals and tying ribbons.
Topics covered
- Wax and sealing stamps sourcing
- Ribbon sourcing
- Gold marker brand
- Wax seal formation--various methods and shapes with a focus on the glue gun method
- Ribbon/wax seal combinations
- opposite direction tails
- same direction tails
- Ribbon tying
- knot
- bow
- How to keep your wax seal and ribbon from attaching to the paper
Want to join us for class? It's offered on-demand and available now for all Tier 2 students. Some classes are also available to Tier 1 students. Click here to see the Tier 1 Class Listing.
How to Access Your Members-Only Class:
- Go to www.kallicampacademy.com
- Log in to your account
- Click on Classroom
- Click on Tier 2 -- Class Archive
- Click on Hand/Paper Crafts
Supplies
- Sealing wax (I prefer glue gun sticks from Artisaire)
- Sealing stamps (shown in video: Artisaire, Elisa Anne Calligraphy, Hobby Lobby)
- Ribbon (I use May Arts silk ribbon)
- Glue gun (low temp preferred, dual temp okay if you make sure it’s set on low!)
Optional:
- Bowl of ice
- Parchment Paper
Homework Challenge
Want to see our students homework? Search the hashtag #kcawaxseals on Instagram. Be sure to checkout #kallicampacademy for hundreds of posts from our student portfolio.
Instructor: Allison McClanahan

Website: wildwoodcp.com
Instagram: @wildwoodcalligraphyandpost
Download our Master Supply List FREE when you become a Friend of the Academy.

Categories
All Categories