Creating Wax Seals and Tying Ribbons
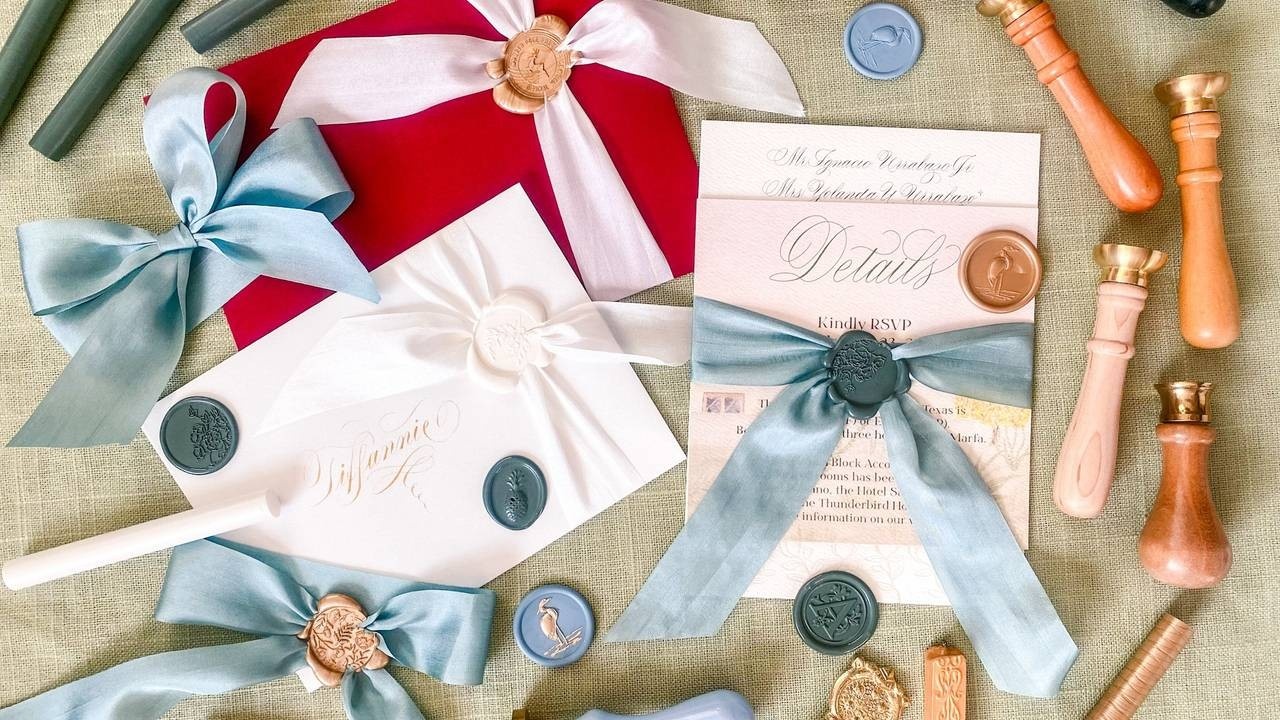
My name is Allison McClanahan, and I am a calligrapher and stationer. For my wedding clients, I work with ribbon and wax seals which makes a piece of mail extra fun to receive. In this class, I’ll show you my favorite methods for creating wax seals and tying ribbons.
Topics covered
- Wax and sealing stamps sourcing
- Ribbon sourcing
- Gold marker brand
- Wax seal formation--various methods and shapes with a focus on the glue gun method
- Ribbon/wax seal combinations
- opposite direction tails
- same direction tails
- Ribbon tying
- knot
- bow
- How to keep your wax seal and ribbon from attaching to the paper
Want to join us for class? It's offered on-demand and available now for all Tier 2 students. Some classes are also available to Tier 1 students. Click here to see the Tier 1 Class Listing.
How to Access Your Members-Only Class:
- Go to www.kallicampacademy.com
- Log in to your account
- Click on Classroom
- Click on Tier 2 -- Class Archive
- Click on Hand/Paper Crafts
How To Make Letters Dance

In this class, you'll learn how to do brush lettering in ballet script! This is a light, dancing script that is fun to write.
You'll learn:
• How to hold the pen
• Where to lift the pen on each letter
• How to write each letter of the script
• How to keep your letters looking thin and wispy
Want to join us for class? It's offered on-demand and available now for all Tier 2 students. Some classes are also available to Tier 1 students. Click here to see the Tier 1 Class Listing.
How to Access Your Members-Only Class:
- Go to www.kallicampacademy.com
- Log in to your account
- Click on Classroom
- Click on Tier 2 -- Class Archive
- Click on Brush Pen Lettering
Materials Needed:
• Pentel touch sign pen, Tombow fudenosuke, or any other small brush pen or even pencil
• Paper
• The class guidelines
Homework:
Your homework is to write a favorite quote with this script. Use everything we learned in class to make it! You can do different colors, different paper materia...
Burlap Calligraphy

In this class, you’ll learn:
- How to letter on a tricky fabric surface, including tips for layout,
- Pens used for writing on fabric surfaces,
- How to avoid fraying and what to do if your fabric frays
- Creative uses for lettering on burlap or other fabric pieces
After joining in on this class, you’ll be equipped to confidently handle projects on burlap surfaces!
Want to join us for class? It's offered on-demand and available now for all Tier 2 students. Some classes are also available to Tier 1 students. Click here to see the Tier 1 Class Listing.
How to Access Your Members-Only Class:
- Go to www.kallicampacademy.com
- Log in to your account
- Click on Classroom
- Click on Tier 2 -- Class Archive
- Click on Hand Lettering on various Surfaces
Materials Needed:
- Burlap or fabric of your choice (from the craft store or found around your home)
- Tulip Fabric Marker or something similar
- Tape
- Chalk
Homework Challenge
Want to see our students homework? Search the has...
Color Application with Colored Pencils
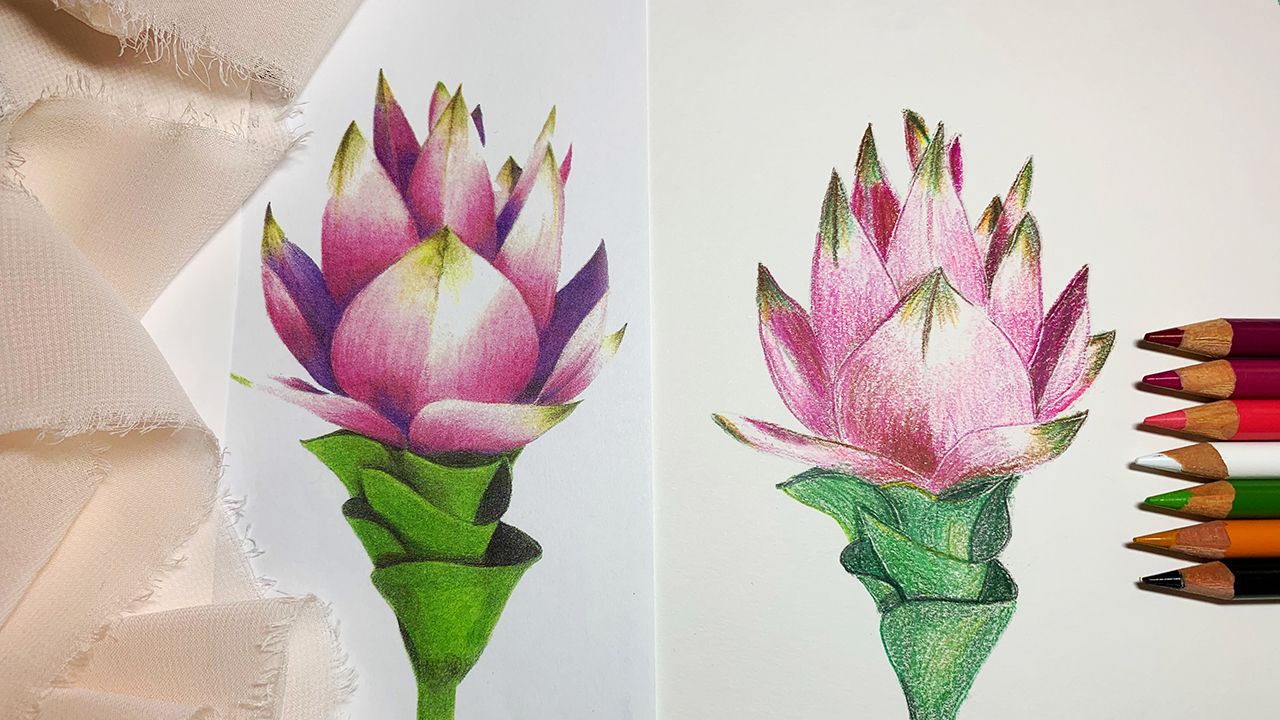
In this class, you will learn how to create depth, shadows and highlights using colored pencils by using techniques that include layering, blending and burnishing.
Want to join us for class? It's offered on-demand and available now for all Tier 2 students. Some classes are also available to Tier 1 students. Click here to see the Tier 1 Class Listing.
How to Access Your Members-Only Class:
- Go to www.kallicampacademy.com
- Log in to your account
- Click on Classroom
- Click on Tier 2
- Scroll to Current Classes
Materials List:
- Colored Pencils: Prismacolor or Faber-Castell Polychromos
- Pencil Sharpener: Alvin Brass Bullet
- Paper: HP Premium 32, Xerox 32 or Arches Hot Pressed Watercolor Paper
- Kneaded Eraser
Share Your Work Tag us with @kallicampacademy using #kcacoloredpencils so we can share your work!
Instructor:
Melissa Baker

Instagram: @melissabakercalligraphy
Ink and Wash Part II

Welcome to Part II of the Ink and Wash Technique series. Ink and Wash (aka line and wash) is a fun way to quickly sketch a landscape scene or a street scene, or in this case, food. It can be as detailed or as loose as you want it to be. It can be just a few quick squiggles or lines to give the suggestion of a person, place, or thing. The idea is get something down on paper quickly and have it look effortless, opposed to labored. The wash part of the technique requires more water in the paint mix and then a series of drying and then laying down more wash to create a layered look to go from light to dark.
Topics Covered
- What can you do to make sure something looks like what it should look like
- Sketching and painting tomatoes
Want to join us for class? It's offered on-demand and available now for all Tier 2 students. Some classes are also available to Tier 1 students. Click here to see the Tier 1 Class Listing.
How to Access Your Members-Only Class:
- Go to www.kallicampacad...
Ink and Wash

Ink and Wash (aka line and wash) is a fun way to quickly sketch a landscape scene or a street scene, or in this case, food. It can be as detailed or as loose as you want it to be. It can be just a few quick squiggles or lines to give the suggestion of a person, place, or thing. The idea is get something down on paper quickly and have it look effortless, opposed to labored. The wash part of the technique requires more water in the paint mix and then a series of drying and then laying down more wash to create a layered look to go from light to dark.
Topics Covered
- How and where to get started when using a large plate of food as your painting inspiration
- Painting the carrots first and then inking them up
- Sketching the carrots first and then adding color
Want to join us for class? It's offered on-demand and available now for all Tier 2 students. Some classes are also available to Tier 1 students. Click here to see the Tier 1 Class Listing.
How to Access Your Members-Only Clas...
How to Animate Your Lettering Using Procreate on Your iPad
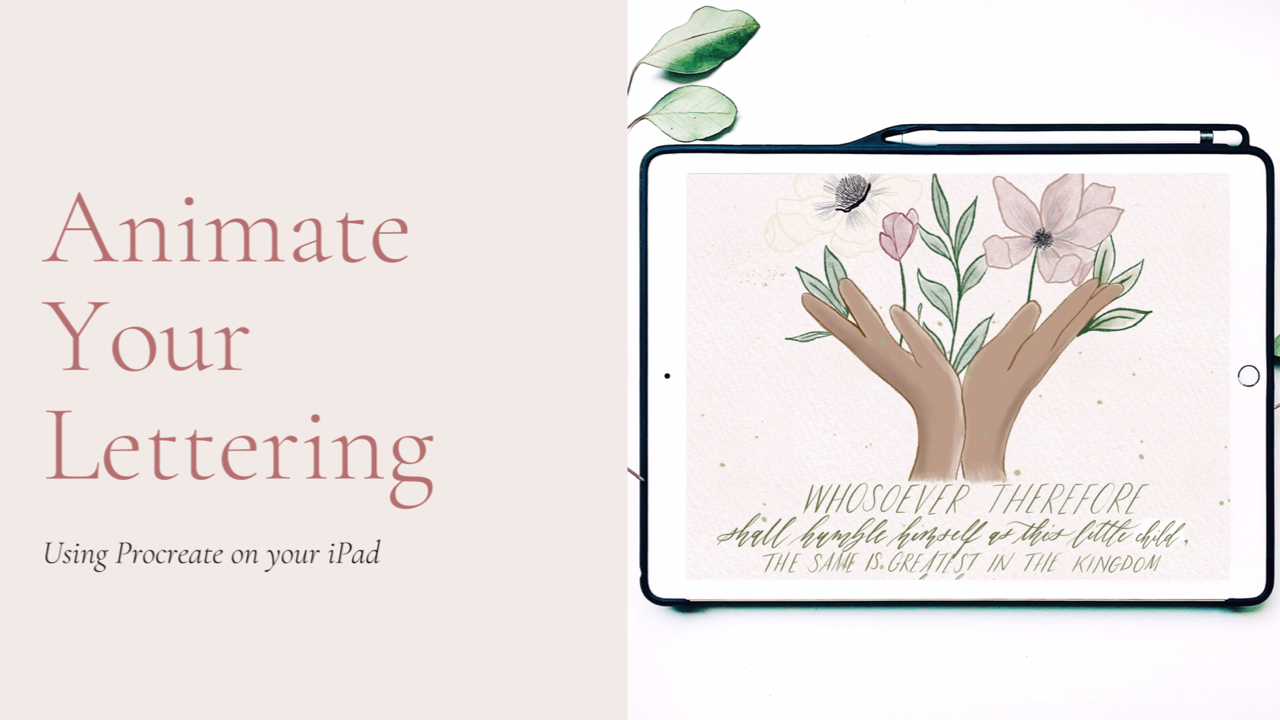
Can you count the times you’ve seen an intriguing intro to a tutorial and the graphics were so impressive, you wondered how they achieved it? The first time I saw an intro with animated lettering (not just typed text), I was enthralled! Being able to use Procreate has been a game-changer for my lettering, and learning how to animate my own lettering has been exhilarating. Just think, you will be able to amp up your social media presence, or add interesting intros to your YouTube, TikTok, Reels, Instagram or Facebook videos. I’ll show you a simple way to animate a previously lettered design or a new one, as well as how to export it to use in your video.
Topics Covered:
- How to Animate Your Lettering Using Procreate
- How to Export and Save Your Video at the Proper Speed
- How to Install the Free InShot Video App to Create Your Video
- How to Use the Free Canva App to Create Beautiful Cover Photos and Graphics For Your Videos
Want to join us for class? It's offered on-demand and avail...
Foil Quill Pen Calligraphy

If you love the look of foil as I do, this class is sure to inspire you! Whether you want to add an elegant touch to personalize handmade cards, scrapbooks, journals, photos, gifts, home decor, and more, having the ability to foil your calligraphy is sure to be eye-catching to your recipients. This class will walk you through the steps of how to use the foil quill pen on various surfaces in several different projects. From cards to envelope addressing, to place cards and ribbon, I am excited about showing you how to add a personal touch with foil to your designs.
Want to join us for class? It's offered on-demand and available now for all Tier 2 students. Some classes are also available to Tier 1 students. Click here to see the Tier 1 Class Listing.
How to Access Your Members-Only Class:
- Go to www.kallicampacademy.com
- Log in to your account
- Click on Classroom
- Click on Tier 2 -- Class Archive
- Click on Hand/Paper Crafts
Supplies:
• Foil Quill Pen - We R Memory Keep...
Magic Centering Method for Calligraphy
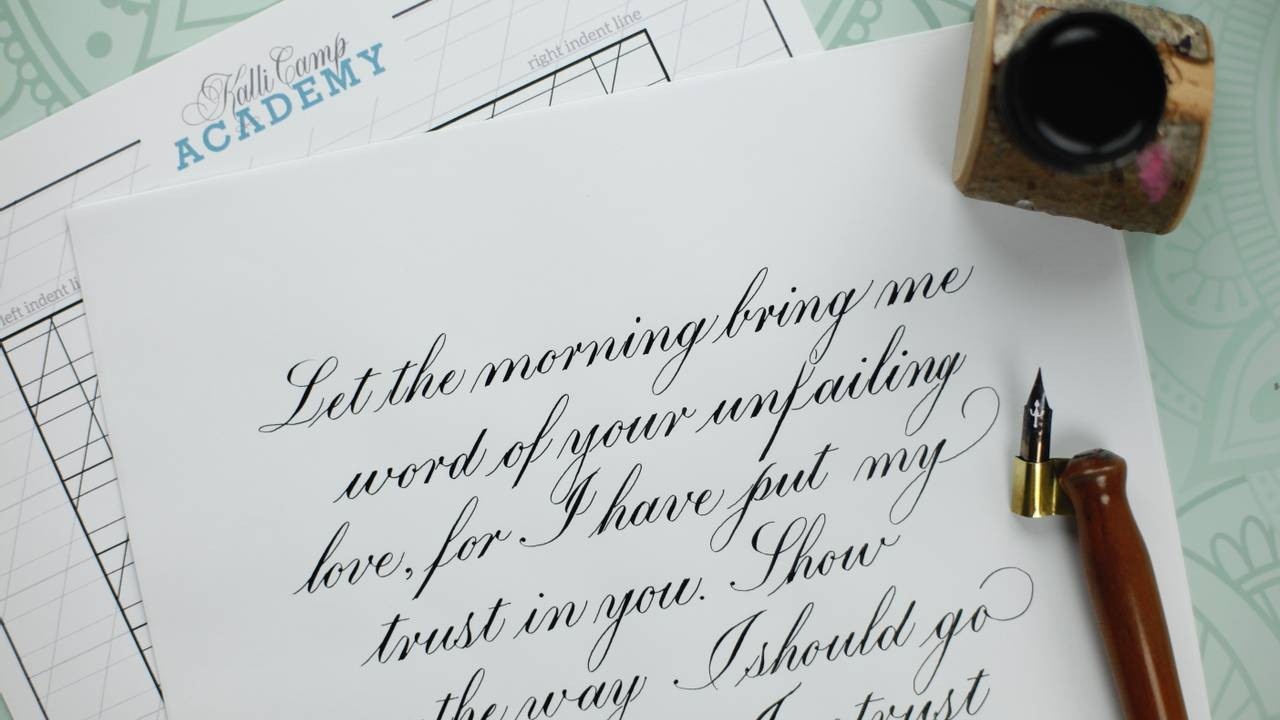
Have you ever wished you could center your practice pieces without all the fuss of creating a layout? In this class I’m going to show you how to use an optical illusion to give your calligraphed passages the appearance of being centered, when in fact, very little actual centering is taking place.
Want to join us for class? It's offered on-demand and available now for all Tier 2 students. Some classes are also available to Tier 1 students. Click here to see the Tier 1 Class Listing.
How to Access Your Members-Only Class:
- Go to www.kallicampacademy.com
- Log in to your account
- Click on Classroom
- Click on Tier 2 -- Class Archive
- Click on Calligraphy Critique and Layout
Supplies
Any supplies you have on hand will be perfect. I am including links to the supplies I prefer for your convenience. Many of these are available at John Neal, and I link to my supply page there for reference. Others are available at local arts and crafts supply stores, and I'm including affiliat...
Watercolor Leaves and Florals Pop-up Card
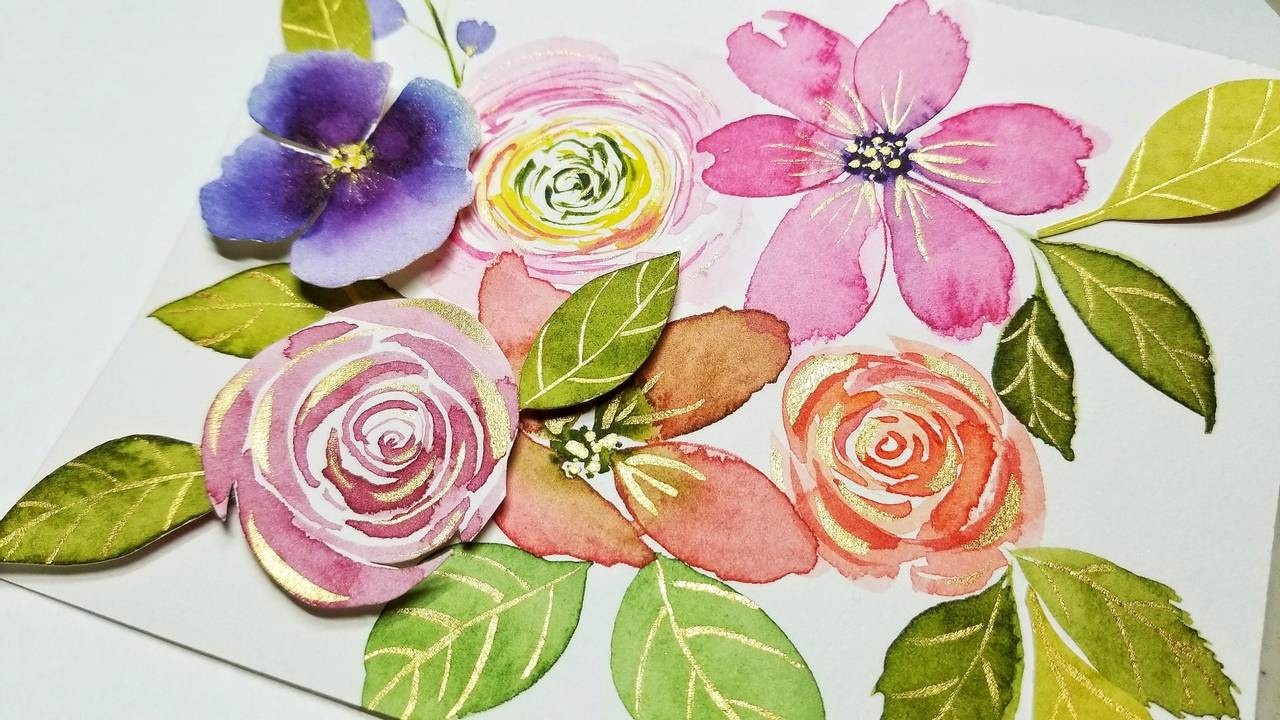
Make a splash of brightly colored leaves and florals to bring a little happy to your work space or send to someone else. We will start with a step-by-step process of creating each of these different designs with watercolors. You’ll learn some special techniques for painting florals, how to give them an extra sparkle with gold paint, and how to get a layered pop-up effect for a 3-D card that will wow the recipient.
Want to join us for class? It's offered on-demand and available now for all Tier 2 students. Some classes are also available to Tier 1 students. Click here to see the Tier 1 Class Listing.
How to Access Your Members-Only Class:
- Go to www.kallicampacademy.com
- Log in to your account
- Click on Classroom
- Click on Tier 2 -- Class Archive
- Click on Watercolor and Painting
Materials Needed
EK Success Cutter Bee Precision Scissors


